


老铁记得 转发 ,猫哥会呈现更多 Flutter 好文~~~~
微信群 ducafecat
b 站 https://space.bilibili.com/404904528
原文
https://medium.com/geekculture/build-a-camera-app-flutter-in-app-camera-825b829fe138
代码
https://github.com/jagrut-18/flutter_camera_app.git
参考
正文
在许多应用程序中,我们需要用户通过点击图片上传图片。为此,我们可以使用设备的默认摄像头应用程序,但如果我们需要集成一个应用程序内的摄像头呢?那么,这也是可能的 Flutter 。小组已经开发了一个叫做摄像头的 https://pub.dev/packages/camera ,它可以让我们做到这一点。
建立项目
首先,通过在 pubspec.yaml 文件中添加以下行,将 camera 包安装到项目中。
1 | camera: ^0.8.1+3 |
- IOS 设置
这个插件需要 IOS 10.0 或更高版本。在 Info.plist 文件中添加以下行来设置内容。
1 | <key>NSCameraUsageDescription</key> |
- Android Setup
在 Android/app/build.gradle 文件中将 Android sdk 最小版本更改为 21(或更高版本)。
1 | minSdkVersion 21 |
现在我们的项目设置完成了,我们可以开始编写应用程序了。
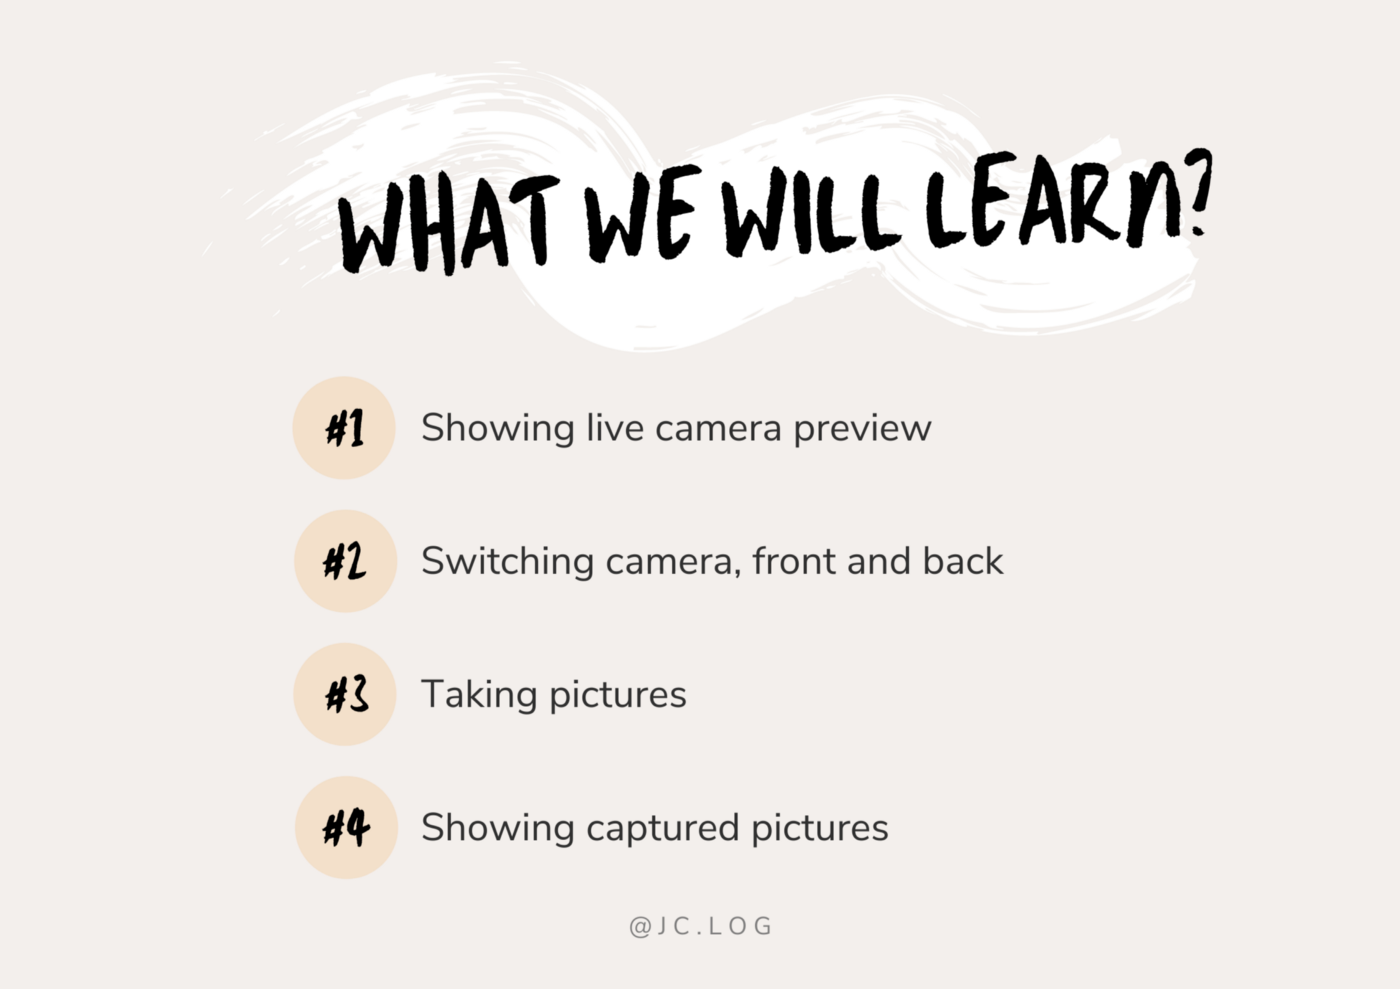
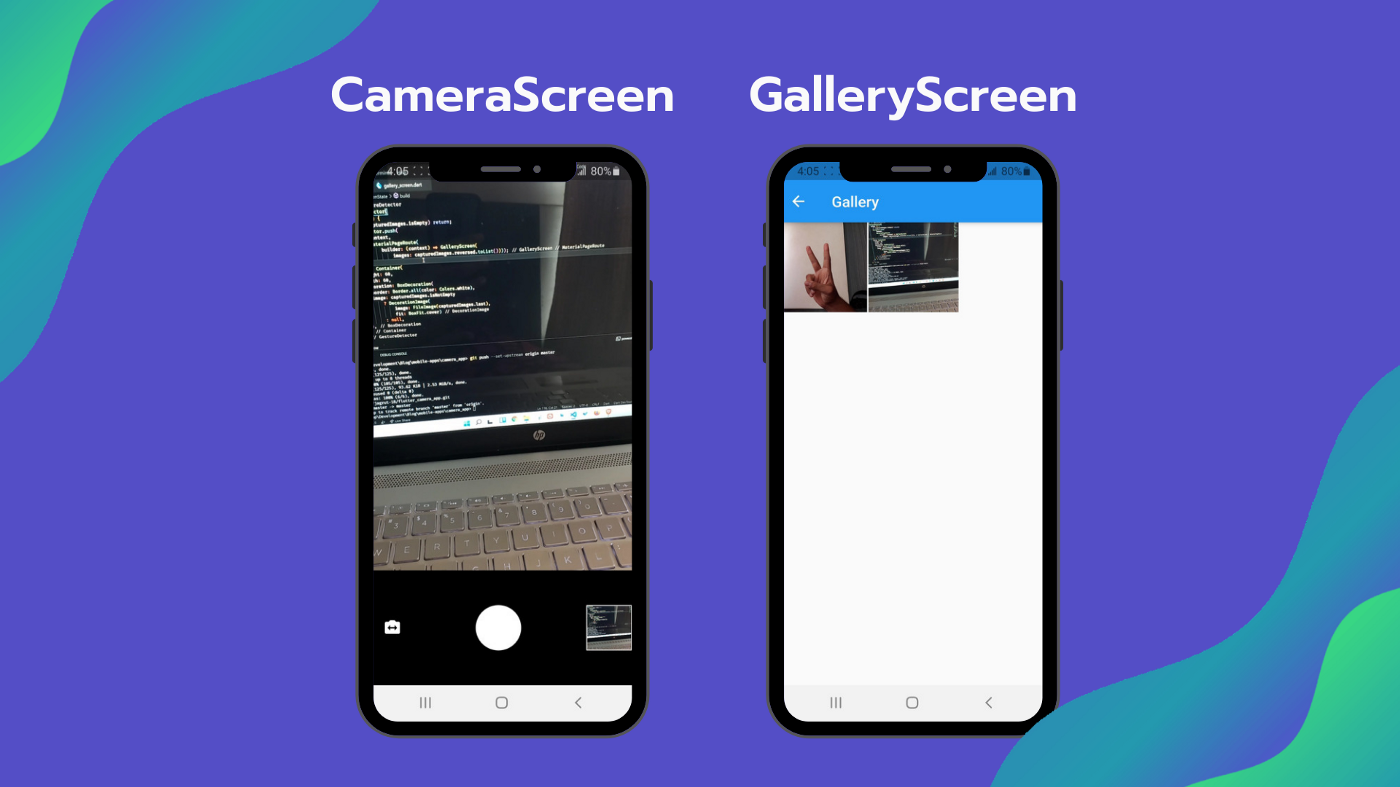
我们将在应用程序中创建两个屏幕。
1.CameraScreen ー此屏幕将显示相机输出并拍摄图片
2.GalleryScreen ー这个屏幕将在网格视图中显示捕获的图片。
装载摄像头
为了显示相机预览,我们需要首先加载相机。为此,转到 main.dart 文件中的 main 函数和 runApp 上面的这些行。
1 | WidgetsFlutterBinding.ensureInitialized(); //Ensure plugin services are initializedfinal cameras = await availableCameras(); //Get list of available cameras |
现在我们有了相机列表,我们需要把它们传递给我们的相机/屏幕。
所以,摄像机会像这样通过

经过这一切之后,这就是 main.dart 的样子。
1 | import 'package:camera/camera.dart'; |
CameraScreen
这个屏幕的布局很简单。在顶部我们将显示实时相机预览和在底部将有三个按钮(交换相机,捕获和显示画廊)。
创建一个有状态小部件 CameraScreen。
我们将创建四个变量,

我们必须设置 selectedCamera = 0,从后置摄像头开始。如果设备有多于 1 个摄像头,我们可以通过更改这个索引切换到它。
现在让我们创建一个方法来初始化选定的相机。
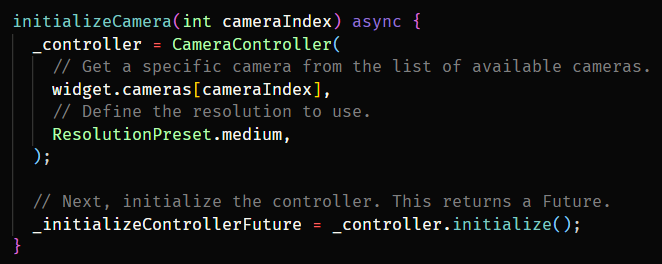
在此方法中,我们将传递要初始化的摄像机索引。使用通过的摄像机列表,我们将加载具体的相机与分辨率的选择。
使用这个方法,我们将初始化 initState 中的后置摄像头。
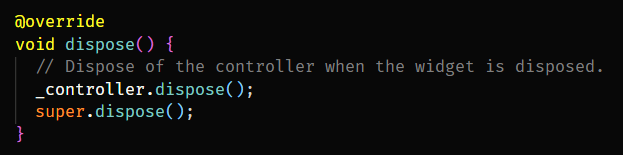
别忘了丢掉相机控制器。
- 现在让我们构建 UI。
为了显示 CameraPreview,我们将使用以下代码。
1 | FutureBuilder<void>( |
好了,现在我们要连续显示三个按钮。
开关/摄像头按钮
首先是开关摄像头图标按钮。点击这个按钮,摄像头应该在前后之间切换。
为此,我们将使用相同的 initializeCamera 方法,但这一次 cameraIndex 将是动态的。cameraIndex 后置摄像头为 0,前置摄像头为 1(如果有前置摄像头的话)。
在点击,我们将检查设备是否有多个摄像头,如果没有,我们将显示一个带有消息的 snackbar。
1 | IconButton( |
捕捉按钮
为了显示捕获按钮,我使用了一个半径为 60 的简单白色圆圈。点击后,我们将使用相机控制器拍摄一张照片并将其添加到 captureImages 数组中。
1 | GestureDetector( |
显示画廊按钮
这个按钮非常简单,我们将显示从 capturedmages 数组拍摄的最后一张图片,当单击时,它将导航到 GalleryScreen。
1 | GestureDetector( |
如您所见,GalleryScreen 接受捕获的图像列表,因此我们可以在 gridview 中显示它们。让我们完成这一部分来看看应用程序的运行情况。
GalleryScreen
这是非常直接的屏幕。获取图像列表并在 GridView 中显示它们。
1 | import 'dart:io'; |
Final Product
在构建应用程序之后,这是最终的结果。
摄像头包也可以捕捉视频,你可以使用 startVideoRecording,pauseVideoRecording 和 stopVideoRecording 方法来捕捉 https://pub.dev/packages/Camera。
这是这个项目的 Github 链接,希望对你有所帮助。
https://github.com/jagrut-18/flutter_camera_app.git
这个就到此为止,希望你喜欢。
© 猫哥

往期
开源
GetX Quick Start
https://github.com/ducafecat/getx_quick_start
新闻客户端
https://github.com/ducafecat/flutter_learn_news
strapi 手册译文
微信讨论群 ducafecat
系列集合
译文
https://ducafecat.tech/categories/%E8%AF%91%E6%96%87/
开源项目
https://ducafecat.tech/categories/%E5%BC%80%E6%BA%90/
Dart 编程语言基础
https://space.bilibili.com/404904528/channel/detail?cid=111585
Flutter 零基础入门
https://space.bilibili.com/404904528/channel/detail?cid=123470
Flutter 实战从零开始 新闻客户端
https://space.bilibili.com/404904528/channel/detail?cid=106755
Flutter 组件开发
https://space.bilibili.com/404904528/channel/detail?cid=144262
Flutter Bloc
https://space.bilibili.com/404904528/channel/detail?cid=177519
Flutter Getx4
https://space.bilibili.com/404904528/channel/detail?cid=177514
Docker Yapi
https://space.bilibili.com/404904528/channel/detail?cid=130578
