本节目标
- stateless、stateless 差别
- 动手封装两个 widget 来体验
点击切换
点击切换
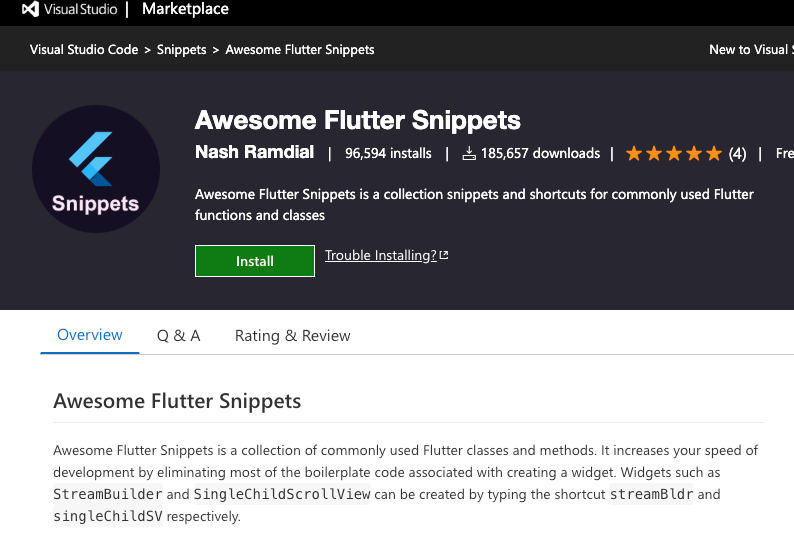
安装插件
Awesome Flutter Snippets
第一步:编写 statefull 主程序
1
2
3
4
5
6
7
8
9
10
11
12
13
14
15
16
17
18
19
20
21
22
| import 'package:flutter/material.dart';
main(List<String> args) {
runApp(MyApp());
}
class MyApp extends StatefulWidget {
MyApp({Key key}) : super(key: key);
_MyAppState createState() => _MyAppState();
}
class _MyAppState extends State<MyApp> {
@override
Widget build(BuildContext context) {
return MaterialApp(
home: Scaffold(
body: Text('data'),
),
);
}
}
|
第二步:编写 stateless 图片显示
1
2
3
4
5
6
7
8
9
10
11
12
13
14
15
16
17
| import 'package:flutter/material.dart';
class MyPicView extends StatefulWidget {
final String picName;
MyPicView({Key key, this.picName}) : super(key: key);
_MyPicViewState createState() => _MyPicViewState();
}
class _MyPicViewState extends State<MyPicView> {
@override
Widget build(BuildContext context) {
return Container(
child: Image.asset('assets/${widget.picName}'),
);
}
}
|
第三步:编写切换图片路径状态
1
2
3
4
5
6
7
8
9
10
11
12
13
14
15
16
17
18
19
20
21
22
23
24
25
26
27
28
29
30
31
32
33
34
35
36
37
38
39
40
41
| import 'package:flutter/material.dart';
import 'my_pic_view.dart';
main(List<String> args) {
runApp(MyApp());
}
class MyApp extends StatefulWidget {
MyApp({Key key}) : super(key: key);
_MyAppState createState() => _MyAppState();
}
class _MyAppState extends State<MyApp> {
String fileName = 'p1.jpg';
@override
Widget build(BuildContext context) {
return MaterialApp(
home: Scaffold(
body: Column(
children: <Widget>[
MyPicView(
picName: fileName,
),
RaisedButton(
onPressed: () {
String tmpFileName = 'p1.jpg';
if (fileName == 'p1.jpg') {
tmpFileName = 'p2.jpg';
}
setState(() {
fileName = tmpFileName;
});
},
child: Text('切换图片'),
)
],
)),
);
}
}
|
代码
https://github.com/ducafecat/flutter-learn/tree/master/state_less_ful_app
参考
© 猫哥
https://ducafecat.tech
邮箱 ducafecat@gmail.com / 微信 ducafecat / 留言板 disqus


